Tuesday, 25 August 2015

6mm Forces - Storage and Transport


Well, after a long period of experimentation and testing of various hardware, storage and tackle boxes and bits of tissue and foam I believe I have finally developed the perfect solution for storing and transporting my 6mm forces safely and conveniently.

Eureka.

 
So, how did I do it?

Obtaining the solidly-constructed and square-cornered plastic container was easy. It was also a simple matter to obtain the approximately centimetre-thick foam sections, the felt and the metal bracket sheets, nuts and bolts. Now for the hard part (a little bit harder).

Firstly, the metal sheets – these provide a platform for the storage of magnetized miniatures (all my based stuff such as infantry and artillery as well as aircraft). As you can see I screwed two metal bracket sheets together and added upward-pointing screws at corners and other vulnerable areas to provide overhead protection for the miniatures (prevents 'em from hitting their heads on the plastic box lid or other ceilings).


The foam trays took a bit longer. I used a chisel to cut out neat sections for the vehicles. It is a good idea to use different widths of chisels - fewer strokes = neater edges.

Oh, and before you start chiselling away, you ought to pre-measure and mark out the sections for your vehicles with a felt-tip pen or something. This will ensure accuracy and an efficient use of space.

I gave the cut foam a cardboard backing and reinforced it with cloth or electrical tape. I added small tab-like handles made of tape to make it easier to lift the foam trays out of the box.

Let the glue dry before putting your miniatures in the storage unit.


Some closing remarks – If you find you have more magnetic-based units than tanks (like, you’ve modelled the Strelkovy you always wanted to play but never wanted to paint up in 15mm) you can place two metal sheet sections on top of one another in the storage box.

If you’re placing a steel sheet section over the top of a foam tray, throw in a sheet of felt so the tank turrets will not ding against the steel sheet.

It can sometimes be fiddly to get the turrets out of the holes. It might be a good idea to leave a bit of extra foam in the holes to make such smaller items easier to reach and extract.

Alternatively, companies like GHQ and I94/Raiden have 6mm tank storage boxes for sale at a reasonable price. Still, I enjoyed customising my storage option!

Tuesday, 19 May 2015

House rules for 6mm Flames of War

So I and my friend have now play-tested Flames of War in 6mm scale and I think the rule set works quite well and the physical expansion of the battlefield provides games that are both visually appealing and tactically interesting. However, there are a few aspects of Flames of War Mission rules that I think may need some adjustment given a playing area that is approximately 1.7 times the size of a normal playing area.

Based on the learnings from the last three playtest games, here are a few house rules for the next round of 6mm Flames of War playtesting:

Distal Objectives
In all missions where each player places an objective in an objective zone, there will be a maximum distance between objectives:
  •             Encounter, Dust-up: 60cm
  •             No Retreat, Hold the Line, Pincer, Surrounded: 100cm
  •             Fighting Withdrawal, Hasty Attack: 110cm.
Note this rule does not change the maximum distance between objectives stated for the Free-For-All mission.
Rationale: The purpose behind this rule is to somewhat contain the main battle (hopefully not too much) and avoid situations where, for example, defensive forces are unable to cover all objectives simply due to units’ inability to cover the distance in the amount of time allowed.

Rushing in Reserves
Upon arrival from reserves, all mobile teams may make their initial move At the Double and still only count as moving for all purposes. Immobile teams may deploy 8cm in from their entry table edge.
Rationale: This rule is to ensure forces arriving from reserve are not prevented from playing a part in a battle by potentially much greater distances between entry points and the objectives.

Turns to End
In games where there is a turn limit, increased the limit stated in the mission rules by two. For example, where the mission rules refer to a battle ending ‘when the defender starts any of their turns from turn six with no attacking teams in the defender’s half of the table’ change this to ‘when the defender starts any of their turns from turn eight with no attacking teams in the defender’s half of the table.’
Rationale: This rule is to allow additional time for slower moving or more distant units to cover distance necessary to engage the enemy.

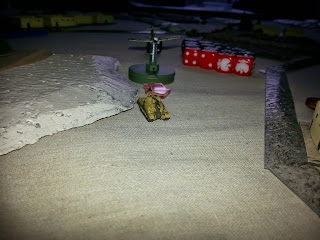
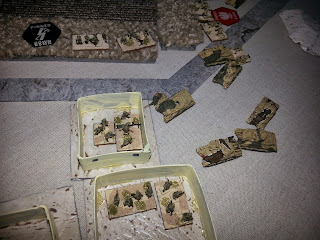
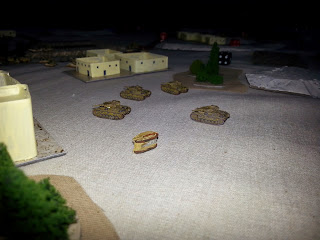
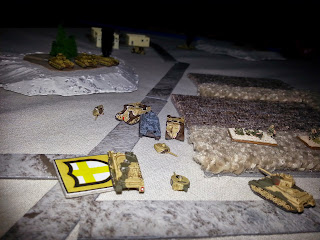
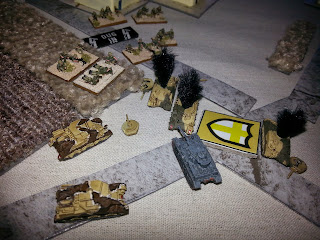
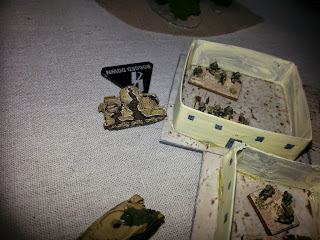
What’s this? New units coming off the production line in preparation for a new offensive?
12cm Granatenwerfers - excellent models I've newly acquired from Adler Miniatures. Other units nearby are GHQ heavy weapons teams, command and motorcycle sidecar.

The Bovington Tiger! (# 131) and an Opel Blitz (GHQ).
 

Thursday, 7 May 2015

After Action Report – Third Playtest of 6mm Flames of War

PINCER
For the final battle of our first 6mm Flames of War mini-campaign I expanded the company list points values to 2,000 points each and very efficiently painted up some new miniatures. I once again took control of the DAK Panzerkompanie and AR led the Commonwealth’s British Armoured Squadron.

Here are the expanded 2,000 point lists:

Panzerkompanie
HQ
2x Panzer IV F2
Combat Platoons
3x Panzer IV F2
4x Panzer III L (extra armour and a better 5cm gun)
3 Panzer II F
Divisional Support
Schutzen Spah Pl. (4xmotorcycle mounted MG teams)
Afrika Schutzen Pl. (with 6xMG teams and an 8cm mortar)
Nebelwerfer battery with 4x 15cm Nebelwefers
Priority Bf.109E

I pretty much chose the Panzer IIs because I wanted so badly to paint them up and the motorcycle recon platoon for no other reason than I wanted to see how mobile they would be.

Heavy Armoured Company
HQ
2x Sherman II
Combat Platoons
3x Sherman II (with .50cal AA MG)
3x Grant (with AA MG)
1 Sherman II and 2x Grant (with AA MG)
Weapons Platoons
3x Stuart with AA MG
Divisional Support
Motor Pl. (with light mortar and 2x AT Rifles and sticky bombs)
3x Scout Bren Carriers

Royal Horse Arty battery (4x 25pdr guns)
Limited Kittyhawk

My choices for the Commonwealth forces were constrained mainly by time and available miniatures. I’d probably prefer to have additional artillery but tanks were faster to prepare.

Let’s get on with the …
Battle Summary
Deployment
AR went onto the offensive with his Heavy Armoured Squadron while my Panzerkompanie switched to the defensive, with reinforcements coming in from the left and right flanks of my position (forming a kind of pincer-like effect..)
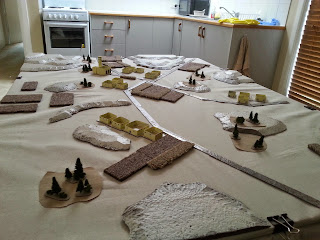
The battlefield.

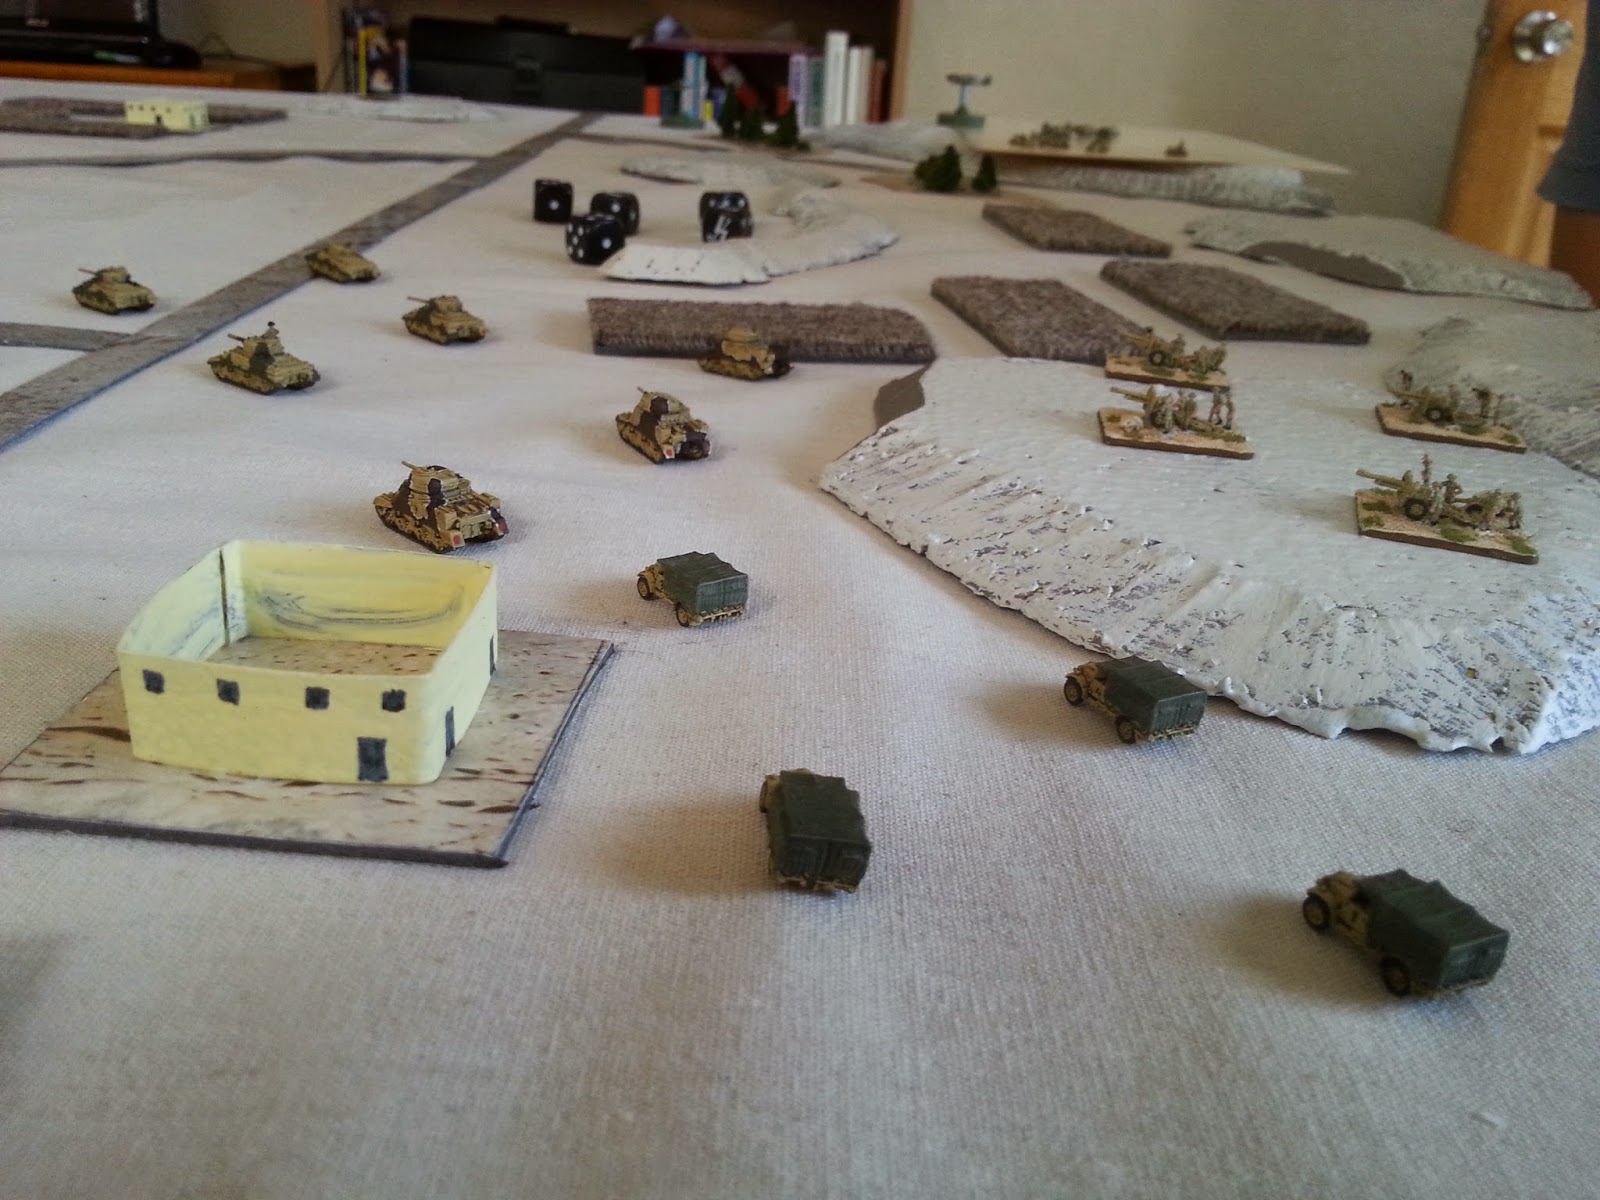
The central crossroads and some particularly valuable cropland by the roadside were selected as the objective locations. AR deployed his force as close as possible to the front line in a well-spaced phalanx of armour with the scout units out on the flanks and the motor platoon’s trucks in the centre. The 25pdrs took up position on a nearby hill, ready to bombard the German defenders.
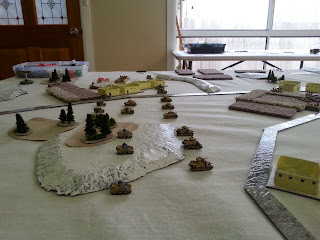
The Allied assault line.

The Germans positioned the dismounted Schutzen platoon around the forward objective (crossroads), the Nebelwefer battery on a hill at the rear just in range of the crossroads objective (on a table as ‘big’ as this you actually have to be careful with the ranges of your artillery!). The Panzer HQ kept well hidden and the Panzer IV F2 platoon waited in ambush. The remainder of the German force was held off in reserve.
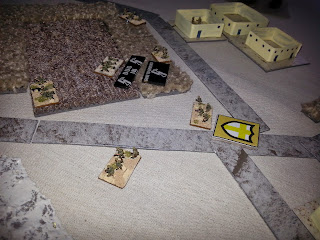
Schutzen hold the crossroads objective (note homemade objective marker with 8th Army emblem).

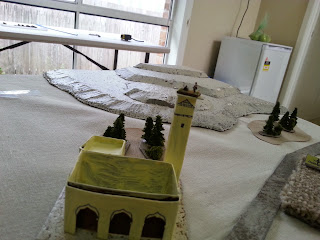
German observer in the minaret of my recently-built mosque (Weetbix boxes).

First phase
The British launched straight into the attack, with the motor platoon and artillery observer truck doubling up to the edge of the central orchards and fields, eager to assault the crossroads objective next turn and end this sorry affair no later than turn 3! The scout carriers and Stuart recon moved out wide to clear cropland and buildings.

A devastating Nebelwerfer bombardment on the doubling trucks caused casualties and pinning among the motor platoon while the Luftwaffe broke through in strength to destroy two of the three Stuart light tanks, including the platoon commander. Moments later, the Luftwaffe reappeared to eliminate the British company command tank as it rushed to remobilise the remaining leaderless Stuart (which remained useless and still for the rest of the game, it’s nice new camo paint job going to waste). The big-gun-havin’ Panzer IVs remained, ominously, hidden in ambush.
The first devastating Luftwaffe attack takes the Stuarts out of the game.
 
The Luftwaffe sweeps in to eliminate the British commander.
 

The motor platoon keep their heads down.

Second phase
The Motor Platoon remained pinned where they’d dismounted under fire from the Nebelwerfers. It was left to the massed tanks of the combat platoons to try and peel the German infantry off the objective. In a series of assaults and counter-assaults the German infantry were indeed peeled back away from the objective, albeit at cost to the British tanks, some of which were attempting to assault through buildings.

 
Just as a pair of Grant tanks closed in on the crossroads, they were suddenly and explosively dispatched by a fusillade from behind – the Panzer IV F2s had emerged from a nearby wooded hill and ambushed the British armour at close range.
British tanks assault German infantry in the buildings.
With the game in the balance, the German command tank moved in to contest the crossroads with remaining British tanks, trading shots at close range. At the same time, the Bren carrier platoon, which had hitherto been creeping along the British left flank making sure no Germans were hiding in the fields out that way, turned and raced toward the rearward objective. In just a few turns they would be there and with no German forces in the area, the day would have been won for Britain.

Third phase
Just as things were looking precarious for the Afrika Korps, the reinforcements started pouring in like sand into the petrol tank of the British battle plan. Panzer IIIs burst onto the scene as the Bren carriers drove at the second objective, destroying one. The Panzer IIs followed, eliminating the rest of the Bren carriers who had gone from hero to zero in a few short cannon bursts.
The Panzer IIIs catch the Bren carriers on the march.


The Panzer IIIs, new and improved, sweep toward the objective.
 

Although British tanks and artillery support wore down the German infantry platoon and destroyed the Panzer IV F2s, the arrival of the improved and reinforced Panzer IIIs proved too much for the British forces, and the last of their tanks went up in smoke.
The German commander holds desperately to the objective.

The wrecks pile up as the battle winds to a conclusion.

The game dragged on for a few more turns. The Allied air force scored a Panzer II kill and the German motorcycle recon platoon roared along the road like the Comancheros for no reason whatsoever, but otherwise the situation did not change. The German position was no longer under any threat.

Did I forget to mention the motor platoon? Well, they were still pinned  for the whole game … from that first artillery bombardment. They have some explaining to do.

Appraisal
This battle, like the campaign, was a very close run thing. The fight could have gone either way at a couple of points. If the Bren carriers had escaped the onslaught of the panzer reserve and reached their objective, if the motor platoon had unpinned and been able to take part in the assault at the crossroads, if the Stuarts had not been eliminated before they had checked out that wooded hill …
 

German victory – 5:2
Campaign Scores:
DAK:                      11
8th Army:             10

Lessons Learned
  • Moving at the double: it’s very tempting on the large playing areas but it seems, in the absence of adequate cover your men had better have balls of steel to do it (and the rest of them should be steel as well).
  • Reconnaissance units: Recon units are also probably best kept close to the flanks of a large-scale armoured advance to ward off the close range ambushes which are most likely to be dangerous. Also, keep likely placements of enemy ambush in mind and move recon units in to clear them out before and during the dangerous moments for your main force armoured units.
  • It may be worth ensuring you have either the mobility or the platoon numbers in your lists to cover all objectives on such large maps. Leaving objectives undefended with enemy mechanised or motorised units about is asking for a quick and embarrassing defeat.
  • Save your ambushes for the right moment if you can. This really worked well for the Germans, tipping the scales in their favour in the central tank showdown.
  • Try not to assault into buildings with tanks. The Germans git an easy capture of a Grant tank and drove off an assaults they should, by rights, have lost.


The Germans capture a bogged Grant tank.

Where to from here?
I’ve started a few more 6mm projects, including a famous Tiger I and some additional air support choices courtesy of I94/Raiden miniatures. I think the Commonwealth forces could do with more infantry and artillery and I wouldn’t mind grabbing a few AT guns as well. If I’m going to depict an Early War DAK force then I’m going to need some regular artillery (no Nebs till mid-war).

We’re also looking at switching theatres for our next campaign – another place where there are wide open spaces and lots of tanks!
 

Monday, 20 April 2015

After Action Report – Second Playtest of 6mm Flames of War


SURROUNDED
Fortunately it wasn’t me who was surrounded – I once again took control of the DAK Panzerkompanie and faced off against an 8th Army Heavy Armoured Squadron led by AR. The 1.500 point army lists stayed the same but I reshuffled my Panzer Platoons to concentrate the Panzer IV F2s in one platoon and Panzer IIIJs in another. I particularly disliked having variable ranges and gun powers in the same platoon 0 a setup which forced me to manoeuvre to close with the enemy with one part of a platoon while other tanks in the same platoon should optimally be stationary and shooting.

Battle summary
Deployment
We were using the big table again (90x122 cm, with centimetres representing inches for all purposes). The scenario provided me with two deployment zones, and two objectives, which I of course placed at opposite corners of the objective area within the central British deployment zone. Because of this, AR was quite stretched with his deployment options. The most defensible objective on a hill he defended with a dug in Indian Motor Platoon with left flank protection from the scout Bren Carriers. The objective at the other corner in the open he gave to his Grant Platoon and the command Shermans. The 25pdr Royal Horse Artillery Battery deployed on a small hill in the centre, able to cover approaches to both objectives and guard the rear of his infantry.

British artillery on the central hill. Background - Allied fighters lurk.
The tanks face off over the objective in open ground.
Wary of the tank strength on the objective in open ground I elected to deploy so as to concentrate my attack on the objective on the hill held by the Commonwealth infantry. The Nebelwerfer Battery and Panzer IIIJs deployed behind a forest on my left while the Afrika Schutzen mirrored them on the right. Having to place at least one Platoon in the deployment zone at the opposite end of the table, the hopeful Panzer IV F2s were sent to sit on a hill and face the Grants and command Shermans.

AR deployed his immediate ambush Sherman platoon at the open objective to face the Panzer IV F2s as well. This Panzer Platoon now had the honour to face the entire British armoured force alone!

First phase
I leapfrogged the Afrika Schutzen to gain the most ground as quickly as possible – moving to the trucks, mounting up and then pushing forward the full 12cm to dismount with a successful (yay) stormtroop move. I repeated this pattern to get the infantry up to an olive grove on the British left. The move tempted the Bren carriers to emerge from hiding and open fire but they were unable to get kills. If my men had still been mounted up these machine-gunnings could have been a real problem.
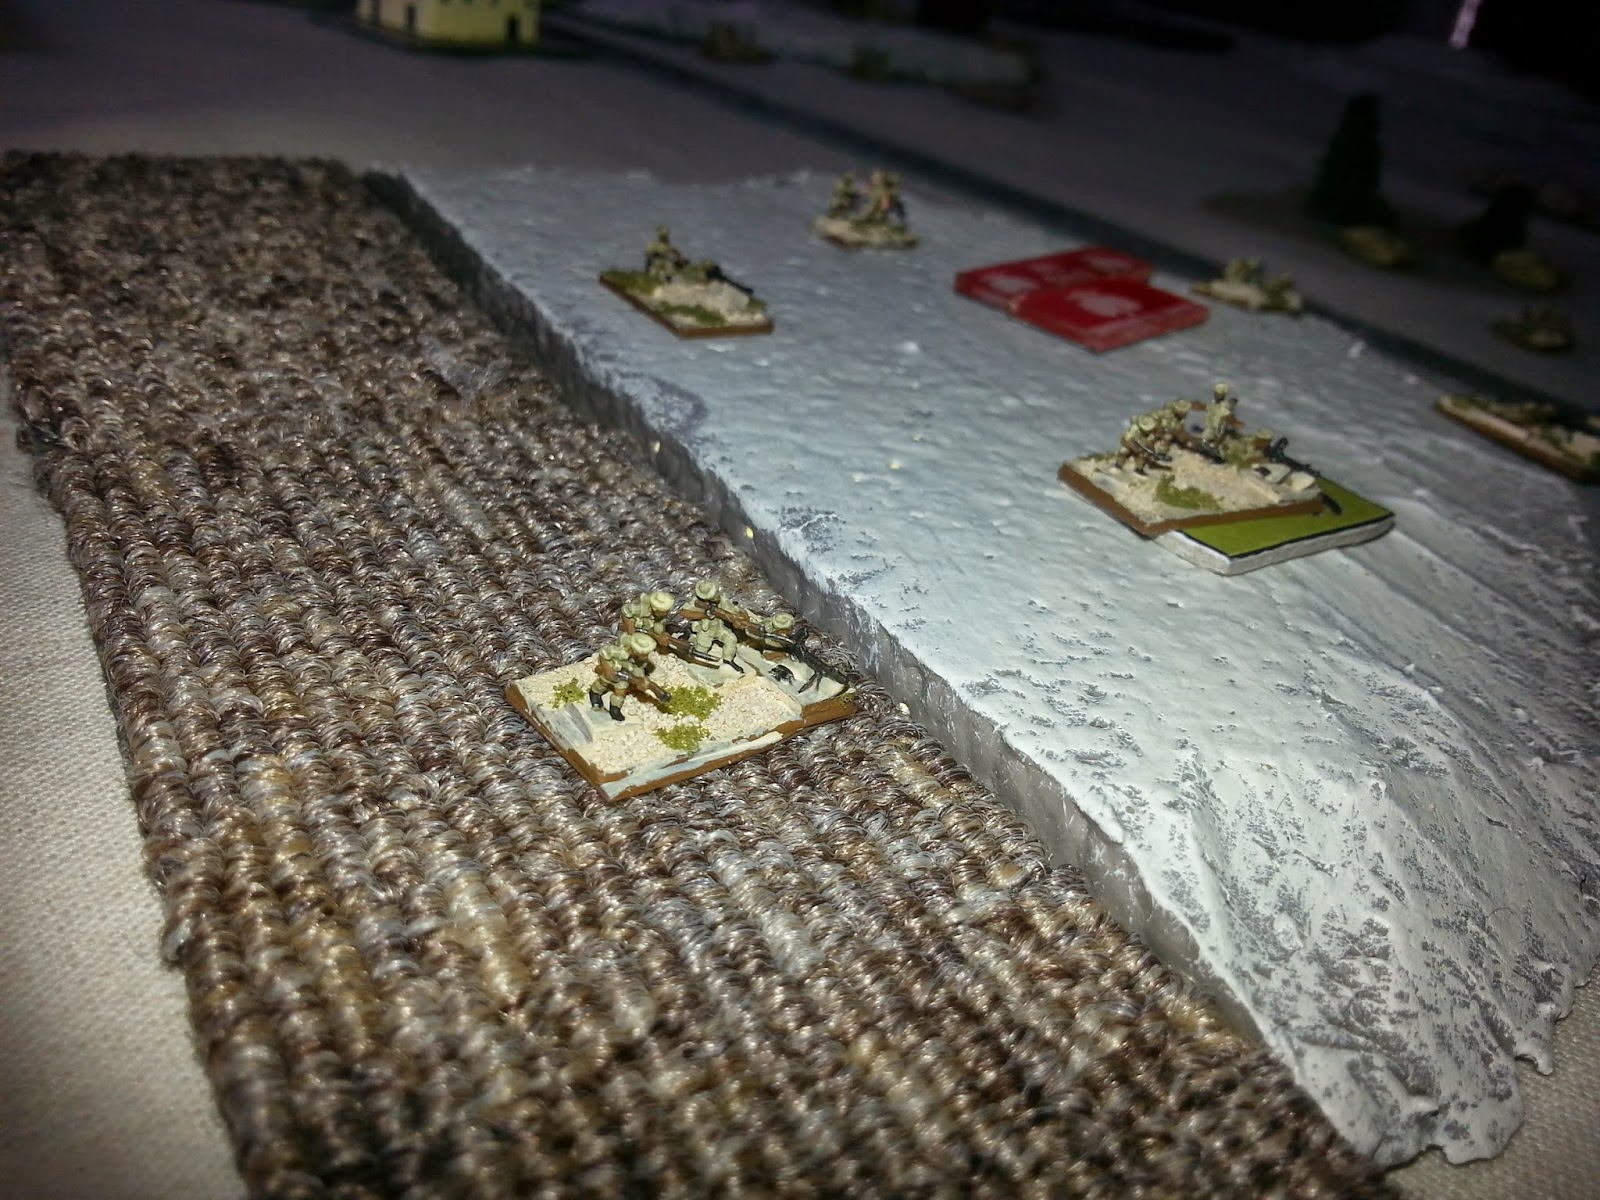
Indian infantry dig in on the hill objective. Can they hold the position against Panzer attack?
The Nebelwerfers spread out to minimise the risk of air attack or bombardment, then dug in and begun belatedly to drop ordnance on the Commonwealth infantry. The Panzer IIIJs and command Panzer IV F2s moved cautiously up to the Indian Motor Platoon, aiming to keep in the shadow of buildings and trees or else get too close to the Commonwealth forces for an air attack to hit them (I was pretty paranoid about 3 Squadron RAAF at this point). Focussed fire from these units did some serious damage to the Indian unit dug in on the hill objective (much to AR’s dismay).

The Panzer IV F2s tried and failed to do any damage to the Grants and Shermans and then stormtrooped to get behind a low hill. This did not sav them however, as a fusillade of firepower from three Grants and five Shermans wiped them out in the first turn.
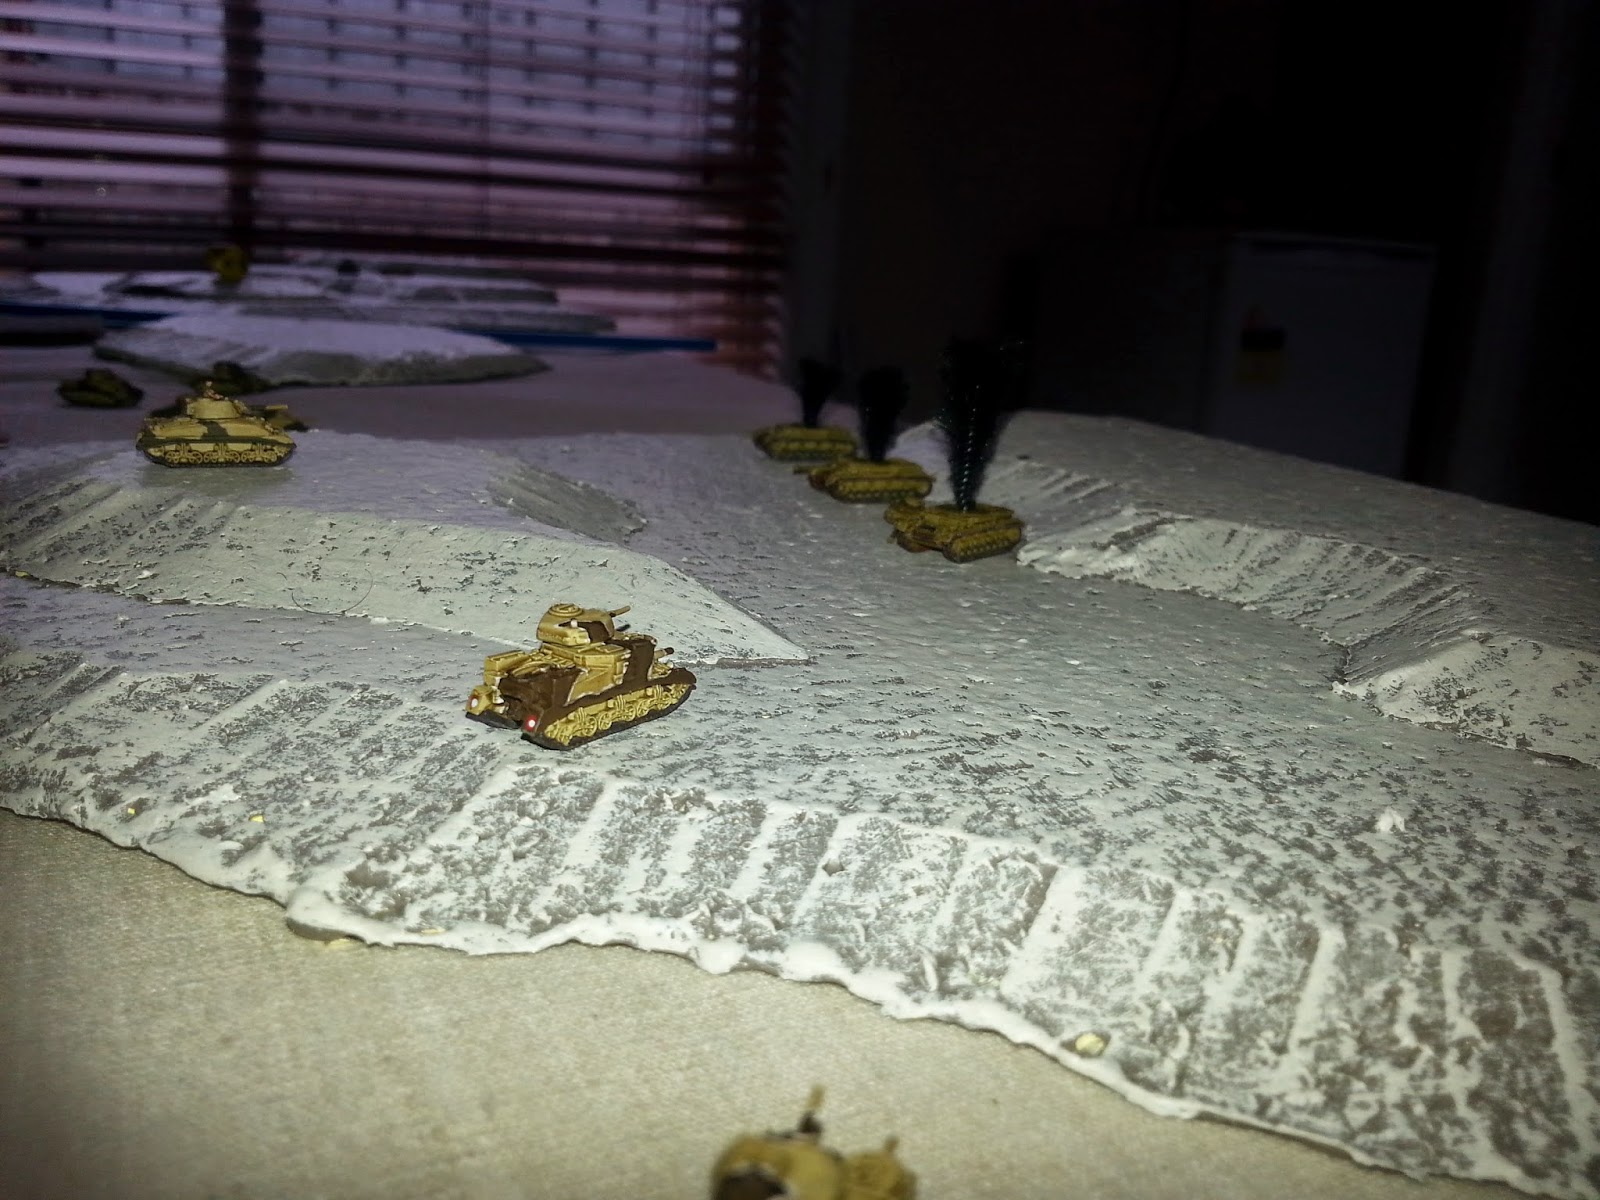
The Panzer IV F2s are slaughtered on turn one.
The initial Luftwaffe air attacks were seen off by Allied fighters while the Allied Desert Air Force, lacking any other viable targets, intermittently and unsuccessfully bombed the Nebelwerfer Battery.

Second phase
As the open ground objective was now completely secure, the entire British tank force about turned and doubled to rescue the beleaguered Indian Motor Platoon. Doubling tanks in the open attract aerial attackers like a bird bell so of course JG 27’s Bf.109Es swooped in at every opportunity. Unfortunately they only managed to kill one tank.
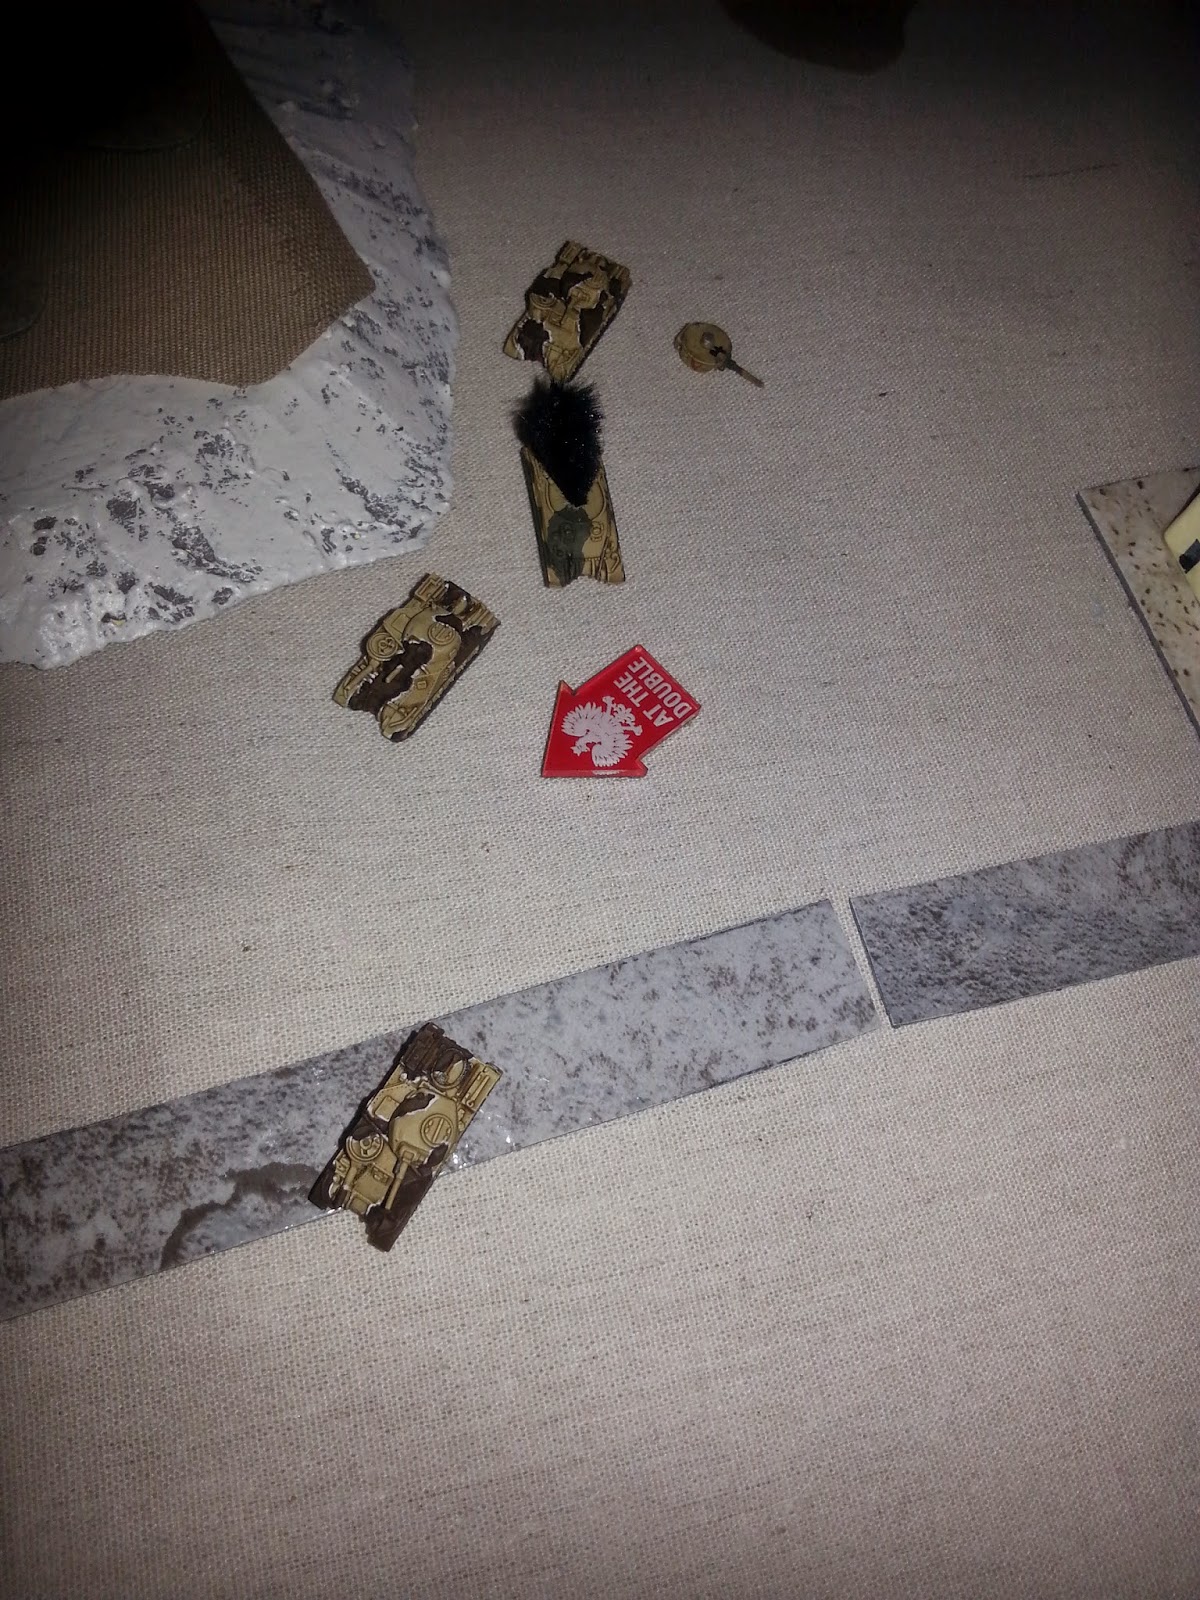
Results of a Luftwaffe air attack.
The Panzer IIIJs continued to rake the hapless Commonwealth infantry with close-range fire – a fire they could not be returned (the Indians’ AT weapons were only AT 4, a Panzer IIIJ frontal armour is 5). The 25pdrs helped out when they could but were unable to damage a single German tank. The Afrika Schutzen pressed on toward the objective, ignoring the Bren carriers, which managed to gun down just a single MG team before they were bailed or driven off by the German command tanks.
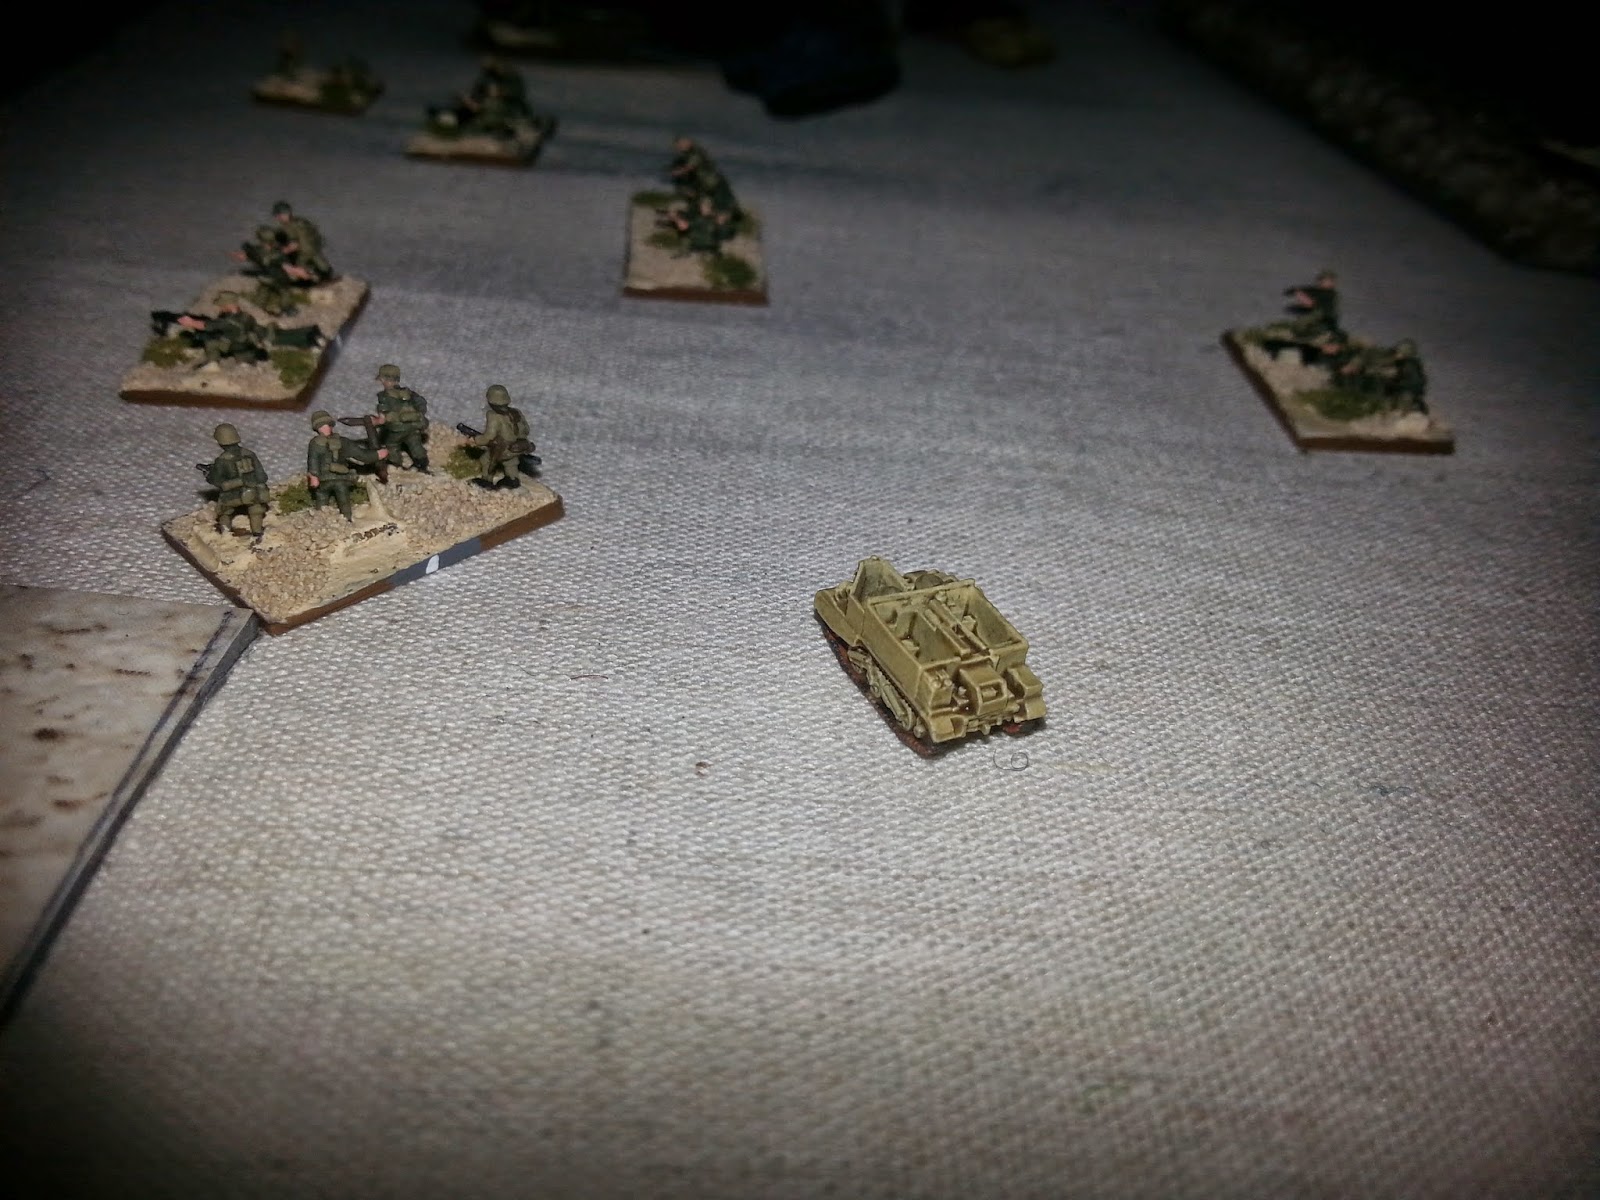
A bypassed Bren carrier tries to gun down advancing German infantry.
Advancing in strength on the hill objective.
 
The final phase
The Indian Motor Platoon, who had stood bravely against all, finally broke after its teams were whittled down to just three and the Panzer IIIJ Platoon moved in to hold the hill objective. With the British armour still about two turns off and the Bren carriers in no condition to fight, victory went to the Germans.
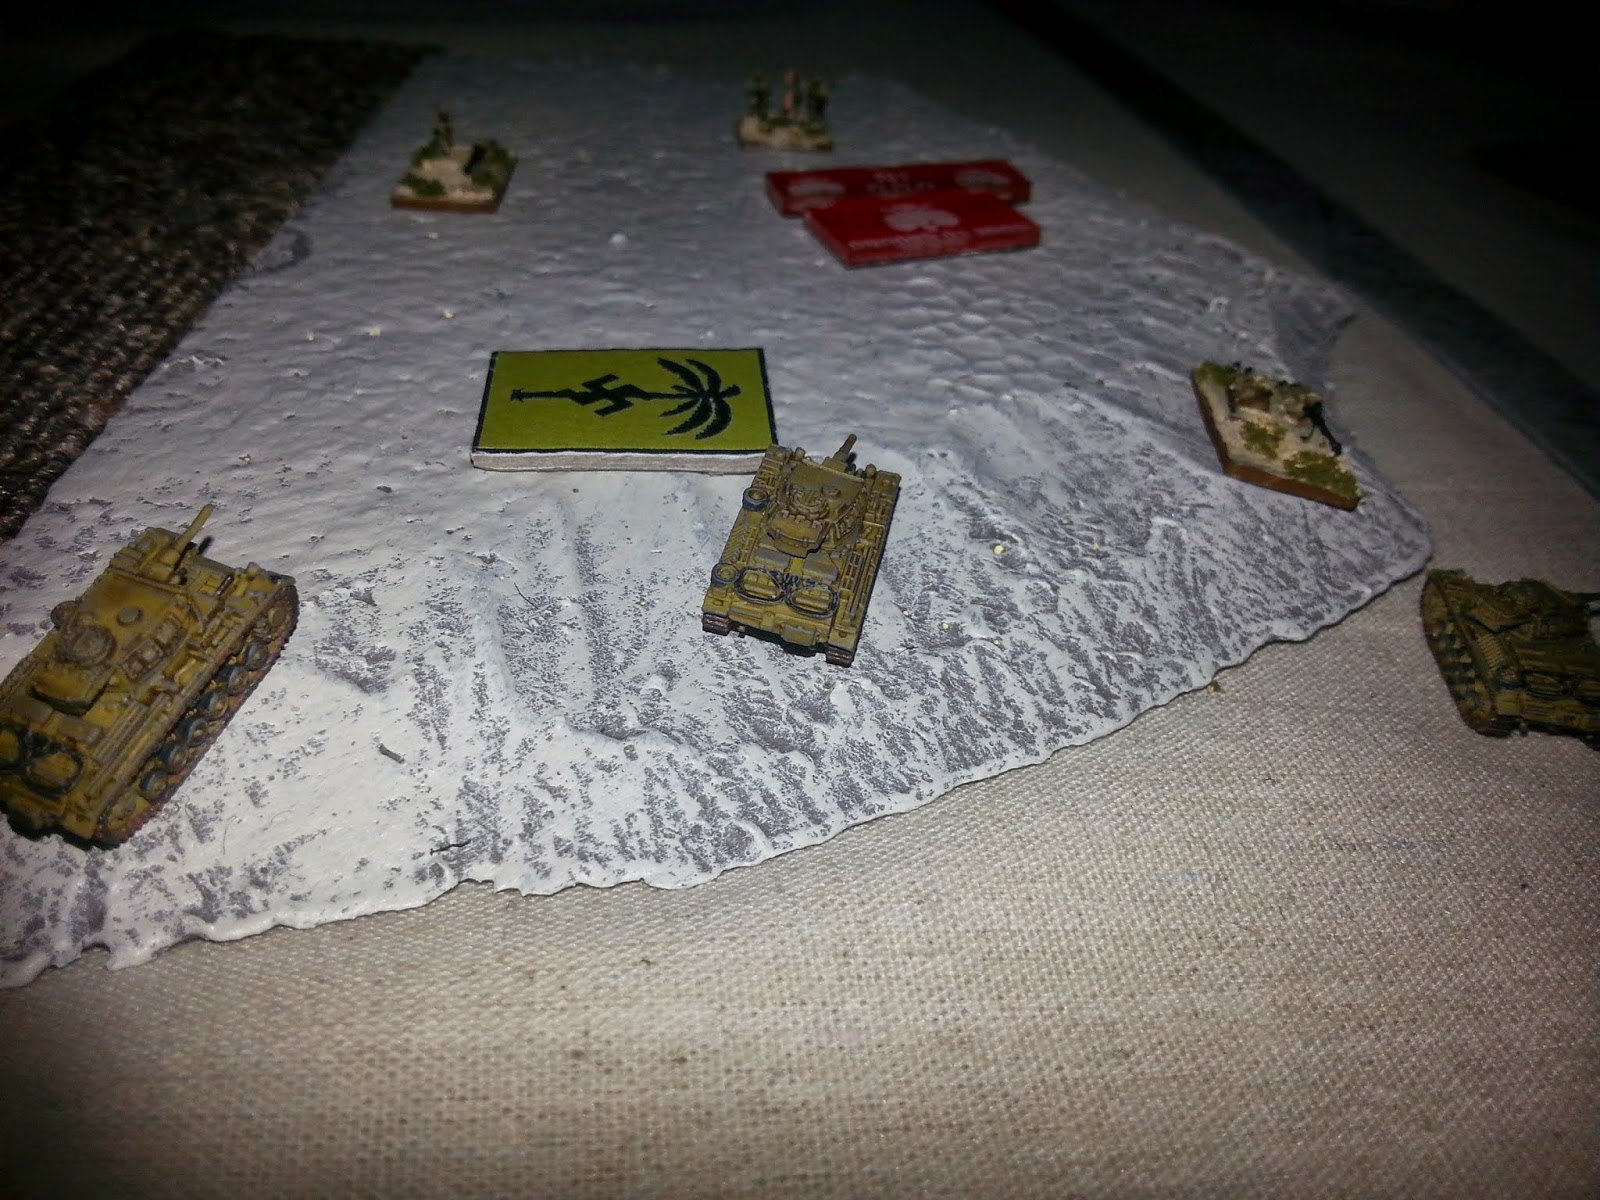
The objective is taken.
Note: I'm particularly happy with my objective markers which I made to scale myself in Microsoft Publisher. Printed out and backed with a homemade thick cardboard (four-ply glued Weetbix boxes) they are sturdy, look pretty nice and totally customisable as well.

German victory – 5:2

Campaign Scores:
DAK:                      6
8th Army:             8


My Panzerkompanie will need to win and win good next game if they hope to win this mini-campaign!

Lessons Learned
For the game itself:

·       Stormtrooping is awesome, and my skilled Schutzen used a ‘pick-up-and-drop’ technique to expedite their advance: 6cm move to transports, 12cm transport move then jump off the trucks using stormtrooper movement for another 4cm (total 22cm if you weren’t counting). Even if you don’t pull the stormtrooping off, this is much safer than doubling and practically as fast! This is beardy as, but then with water rationed at 4 litres a day max you won’t be expected to shave regularly!

·       Three isolated Panzer IV F2s versus eight ‘heavy’ tanks – an unfortunate but necessary sacrifice.

·        When the enemy has air support – hold on to his belt and kick him hard!

·        AR possibly should not have concentrated all his tanks on my Panzer IVs. If I had faced armour near the hill objective I would have had considerable difficulty cracking it open and wouldn’t have been so bold with the Schutzen.

·       For my part, I should have deployed the Panzer IV Platoon somewhere more survivable and not have held such high hopes for first round kills. If they had survived the first turn they might have been a thorn in AR’s side, holding up any tanks he deployed to that side of the board with sneaking manoeuvres.

For 6mm Flames of War generally:

·       Again we slightly tweaked the victory condition turn limits but the sheer size of the table put AR at a significant disadvantage. He was unable to redeploy his tank force fast enough to save the hill objective before I started my turn four holding the position. Although a big playing area is good, it might be necessary to shrink the table a bit to ensure such fights as these don’t devolve into two separate combats at opposite table ends. Perhaps a 100x90cm (equivalent of 8.3 by 7.5’) table would be more suitable for 1,500 point games. 122x90 might be best for some 2500 point Tobruk, El Alamein and Kursk games I have planned (!)

·       Air support and artillery was significantly less effective in this game than the last one thought I suspect this was principally the result of chance. However, I was very careful about positioning my vital units. Area effect weapons still discourage bunching up, doubling and carelessly driving about under the wide open skies.

·       I had hoped, but did not, get into any assaults again. Ranged weapons are playing the pivotal role as you might expect on such a large area. Although I expected to have to assault the dug in Motor Platoon my tanks’ shooting was very lucky. One more turn would also have seen an assault between some isolated Bren carriers and my Schutzen. We may have to wait for me to complete some infantry-heavy formations before we see how assaults play out in 6mm scale.

Sunday, 19 April 2015

After Action Report – First Playtest of 6mm Flames of War

BREAKTHROUGH
The initial test of 6mm Flames of War involved my two 1,500 point playtest tank companies engaging in a Breakthrough mobile scenario – a good test of mobility! I won’t go into much detail for this battle. I took control of my German armour and AR took control of my newly completed British armour. A very fun game was had by all.

British victory 6:1

Battle summary
AR’s tanks and infantry raced across open ground to take the nearest objective while my command Panzer IV F2s tried with very minor success (killing one Grant tank) to distract or stop the advance. It was already three turns in before the first German platoons arrived from reserve.

Air support from RAAF 3 Squadron Kittyhawks proved devastating, destroying two Nebelwerfers and wiping out the truck-borne Schutzen Platoon which had taken a foolish gamble and moved at the double (hoping to receive the cover of some tree crops). British artillery also kept my own Nebel gunners’ heads down, ranging in on rising smoke columns. German air support did not perform as well, frequently being driven off by the RAAF (see right), but did succeed in hitting the Indian Motor Platoon, forcing them to deploy from their transports and encouraging them to dig in between my forces and the 25pdrs – where thy waited out the rest of the game.

Bomb runs
By the time my panzers arrived the British tanks were practically unopposed on their objective near a forest and used the terrain feature to concealment advantage. A very brief tank battle took place across the fields between the Panzer IIIs and IVs and the Shermans and Grants. The Panzer IIIJs 5cm KwK guns proved insufficient to defeat the Allied tanks frontal armour and only one got close enough to get a flank shot (it was quickly dealt with). After very successful British shooting and another bombing attack from Aussie Kittyhawks, the panzer platoons were eliminated and the German company fled the field.


 The forest objective held by British tanks
The Panzers are driven off or destroyed. 

 Mistakes were made and lessons learned. Here are the said lessons learned:
·         need a proper camera with macro zoom capability
·         need more terrain to fill the table
·         artillery are still quite balanced, with their targets’ greater ability to spread out in the larger playing area offset by the great range of bombardments relative to the usual ranges of direct fire weapons.
·         aircraft can be quite devastating, like artillery, having the ability to strike almost anywhere on the large playing area. This feature really makes both aircraft, as well as, anti-aircraft guns quite a valuable unit choice. I think I will be acquiring some flak quite soon.
·         because of greater engagement ranges, assaults may be rarer and chances to take tanks on their side armour may be reduced. It will be interesting to see how heavy armour performs given this particular aspect of the game
·         don’t forget Stormtrooping! (I almost never play Germans – a situation that is about to change).

Saturday, 18 April 2015


6mm Flames of War preparation and the first two companies – DAK Panzerkompanie Afrika and British 8th Army Heavy Armoured Squadron (Africa)

I finished my first two 1,500 point test armies for Flames of War in 6mm and tested them in battle (see next article). Below are some pictures and some of my notes on the ‘how to’ of 6mm Flames of War.

I have tried wherever possible to maintain Flames of War scaling and other conventions. The main differences I want to see in 6mm Flames of War are a generally larger playing area providing more room for interesting deployment and manoeuvre. It may be necessary to make some modifications to the rules to suit this larger playing area (e.g. tweaking some mission parameters).

Basing: To keep as close as practical to Flames of War conventions, I am using the following basing measurements (bases for 1:300 or 1:285 scale should be roughly 40% of Flames of War size) :
  • Small Base 12x10mm (FoW scale is 32x25mm). Two to three figures
  • Medium Base: 12x20mm (FoW scale is 32x50m). three to four figures (more than four probably would not fit and anyway you'll run out of models quicker putting five guys on a base – let’s face it, one of the core reasons for choosing 6mm is financial).
  • Large Base: 20x25mm (FoW scale is 50x65mm). Large guns, about five crew. Objective Markers.

Making Bases: I glued 0.5mm thick plasticard (a.k.a. Evergreen scale models Sheet Styrene, available from our local hobby store – Monaro Hobbies) to a backing of magnetic P-plates (L-plates might work just as well, but they might be designed with a weaker magnetism due to the lower speeds at which learners drive. They are also bright yellow on top which might look weirder if it shows through).

Thicker plasticard, say 1mm), might work fine for bases as well. The key aspects are to have magnetism for easier storage/transport and for the base to be rigid and thick enough for you to pick up the team with minimum contact with the miniatures, which are a little bit fragile at 6mm scale).

0.5mm Plasticard and P-plates are both easy to cut with scissors. I'm not completely sure what will be the most efficient way to prepare the bases. I think the two components are more easily cut separately and then glued together but you've got to be careful to measure them as near to exact as possible so the pieces match. Alternatively, if you glued the plasticard and P-plate together then measured and cut you would only need to cut once. More testing may be necessary to achieve Ford-like efficiency.

Basing for vehicles: I haven't bothered basing the tanks and vehicles because I like them on their own, however, basing might be good for some very small vehicles (e.g. Kubelwagens, Jeeps, Bren Carriers and Kettenkrads).

Measuring scale: As 6mm is basically one-third the size of normal 15mm Flames of War scale, using centimetres for inches on all measurements scales things down nicely (1"=2.54cm). I don’t mind the relatively shortened ranges or movement and fire so long as the larger playing area mitigates the 'panzer parking-lot' visual effect. Speaking of which…

Size of Playing area: The first test game (see next article) was played using my two 1,500 point test companies on a 122x90cm table. In normal Flames of War scale, a table this size relative to the miniatures would effectively have been 10'x7.5'. I reckon we only used about a third to a half of it during seven turns of gameplay. As I’ve said before, the intention of the larger table is to provide good manoeuvre opportunities and (to be totally honest) more scope for transport units to play a part because I just like trucks and half-tracks and want to use them!

Templates: I cut the bombardment template and measurement aid (an odd-shaped thing with sides of 1cm, 2cm, 4cm and 6cm to help with the likes of spacing and assault distances) out of plastic take-away food containers. The bombardment template is best transparent so you can see the targets under it. As for the measurement aid  I will make revised ones in cardboard.

Measuring devices: Aside from the measuring aid (which admittedly did not see use in the first test game) we used the usual metal tape measure and some Epic 40,000 centimetre rulers. I must say the Epic rulers were ideal (perhaps not surprising considering they are basically made for purpose). I wonder if you can still buy them somewhere?

Miniatures: I am using GHQ miniatures currently because, although expensive, the quality is awesome. Infantry (but not gun crews) are slightly larger than life for the scale apparently but that's good because it shows more detail. I hear that CinC is also good and a bit cheaper but I haven't tried them yet. From their website it seems they might be more efficient with their deployed artillery models. Heroics & Ros have a very good variety of aeroplanes but I’ll stick with the more detailed GHQ for the main playing pieces for now. Speaking of aeroplanes, I just picked up some Scotia Grendel and Raiden/I-94 items of which I will endeavour to provide some illustrative photographs.

Painting the miniatures: For infantry and gun crews it's best to paint them when they are on their sprues rather than as individual models. I would also recommend painting them before you base them as you don't want to have neighbouring figures getting in the way of your brush when you are going in to apply some fine details.

For trucks and guns etc, glue them securely onto the heads of toothpicks (glue to the underside of the model) for ease of painting. I've been sticking the downward points of the toothpicks into foam so the miniatures don't fall/lie down while they are drying. To give you a picture of what this looks like, envision a forest of toothpicks topped with impaled tanks and trucks.

Armoured vehicles will usually have two components: turrets and hulls. To stay in keeping with Flames of War rules you need to be able to rotate tank turrets as facing can be important. I've found you can stick a toothpick through the hole in the hull where the turret usually goes (a tiny amount of glue helped hold each hull to its toothpick). The turrets should also be mounted on toothpicks. For tanks with very small turrets and short guns (e.g. Panzer IIF) I have had to make an exception to the Flames of War standard and just glue the tiny turrets in place.( I will have to resort to using hull facing when determining things like armour values for these units).

I spray-varnish the vehicles while they are still on their toothpicks after I have finished painting them. Once I break them off the toothpicks I give them a once-over with some extra paint and matte varnish where the toothpicks were, as well as any other parts that need touching-up.

It is a good idea to use gloss varnish on the underside of the turret and the turret-ring area of the hull so the turret can rotate smoothly.

Army Painter Quickshade was great for bringing out the details. I would never dip miniatures into the Quickshade (you will lose 6mm miniatures in the can for sure). Instead I paint small quantities of Quickshade on each miniature with a brush.

Here are some (low quality) pics of the two finished playtest companies.

 
8th Army Heavy Armoured Squadron – Confident Trained
HQ
2x Sherman II (one with .50 cal AA MG)
Combat Platoons
a)      3x Sherman II (one with .50 cal AA MG)
b)      3x Grant (one with AA MG)
Divisional Support
a)      Motor Platoon (Cmd MG team, Light Mortar, 2x AT Rifle, 3x MG Teams, 4x 15cwt trucks, Sticky Bombs all round) – Confident Veteran
b)      Scout Platoon (3 Bren Carriers) – Confident Veteran
c)       Royal Horse Artillery Battery (Cmd Rifle, Staff, Observer Rifle with 15 cwt truck, 4x 25pdr guns, Sticky Bombs) – Fearless Veteran
d)      Air Support (Limited Kittyhawk)
 

DAK Panzerkompanie (21. Panzer Division) – Confident Veteran
HQ
2x Panzer IV F2
Combat platoons
a)      2x Panzer IV F2 and 1x Panzer III J
b)      1x Panzer IV F2 and 2x Panzer III J
Divisional Support
a)      Afrika Schutzen Platoon (PzKnacker Cmd SMG, 6x MG Teams, 1x Kfz 15, 3x Krupp Protze 6x6)
b)      Nebelwerfer Batterl (Cmd SMG with Kfz 15, 2x Observer Rifle with Kubelwagens, 4x 15cm Nebelwerfer with Sdkfz 11 half tracks)
c)       Air Support (Limited Bf.109E)