In the immediate aftermath of my slightly disastrous defeat at Bittern Pits Wood I decided to fight a solo battle at home using (slightly modified) scenario mechanics from Joseph Legan's Platoon Forward and (of course) the Too Fat Lardies' Chain of Command, to see whether I could successfully withdraw the forward section of the Blackshorts 14 Platoon and stabilise the front to prevent the main Blackshorts defensive line in Botany Bay Wood from being outflanked on its left by an opportunistic Sheffield Workers Militia (SWoM) attack. The game was a while ago, so I'll write what I can remember.
 |
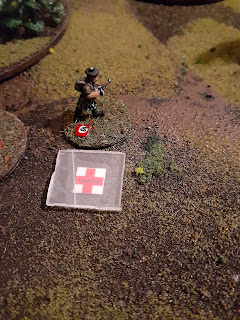
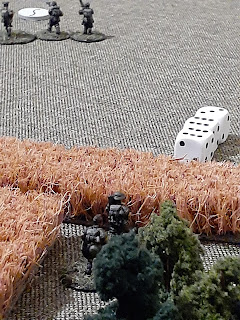
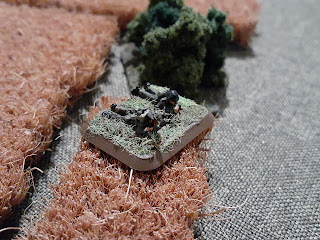
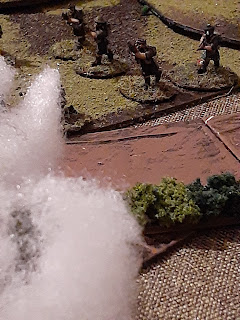
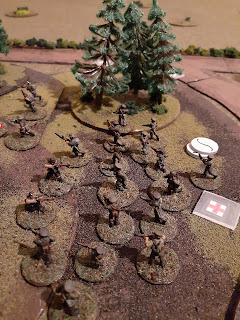
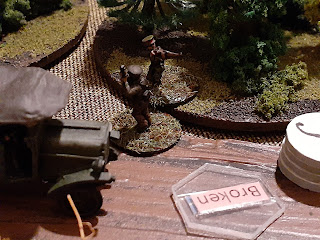
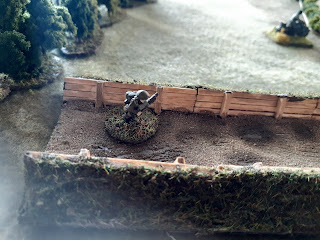
| Corporal Blain, wounded, waits at the edge of the woods for his section to return. |
 |
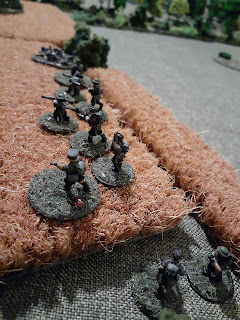
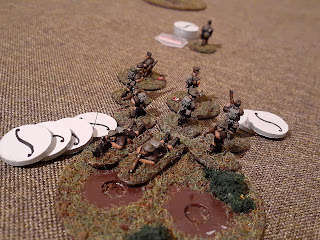
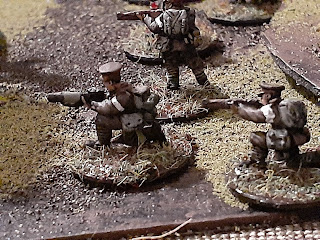
| 2 Section gets ready to pull out (Peter Pig miniatures, including numerous headswaps). |
 |
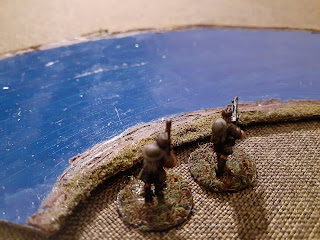
| The Boys AT rifle team, soaked and freezing from having swum across the canal in late winter weather, contemplate the need to re-cross it. |
 |
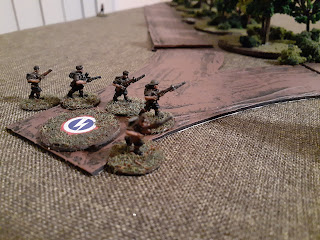
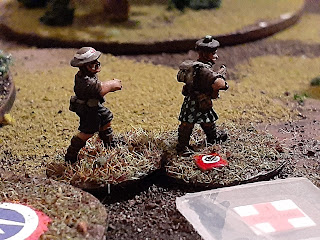
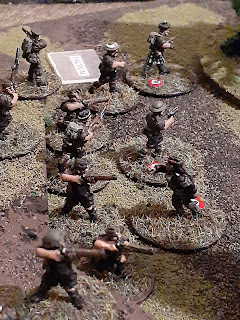
| 1 Section rallies, reorganises and starts running back to where they ... er ... left their wounded corporal. |
The starting positions for the remaining units of 14 Platoon were based directly on their finishing positions in the last game: five remaining unhurt or lightly wounded men from 1 Section start at the crossroads just west of Botany Bay Wood without their corporal, who was wounded and stayed in the woods to await an enemy advance. Near the opposite long table edge, 2 Section, the 2" mortar team and Lieutenant Heath start at the grassy edge of Bittern Pits Wood with enemy blinds in close proximity (about 12"). They can choose to stand and fight or try to pull back, which means running across a few hundred metres of almost entirely open ground. The AT Rifle Team must roll a D6 each friendly Phase to reach a cumulative total of 12 to swim back across the canal, the Boys AT rifle securely wrapped in oilskins and a cork life preserver. A section from 15 Platoon is in 'delayed reserve' and may come on to guard their flank in Botany Bay Wood.
 |
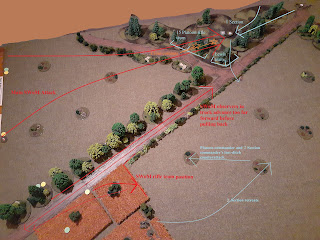
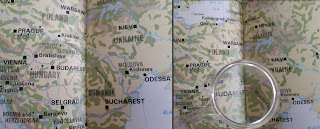
| The overall scheme of operations (created using Old Maps Online). |
2 Section pulls back
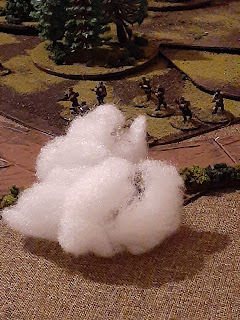
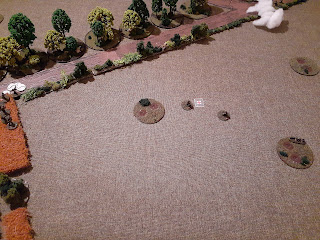
Quickly surveying the situation, LT Heath ordered 2 Section and the light mortar team to pull back, running as rapidly as possible to the nearest spot of cover (circular patches of un-mowed grass). They deployed smoke grenades to provide additional concealment.
 |
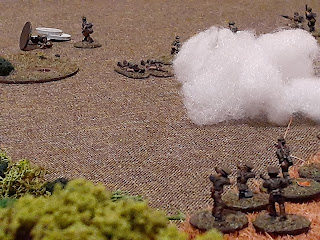
| 2 Section runs for it, sprinting 15" |
 |
| Suddenly the enemy emerges from the tall grass and opens fire, inflicting shock and casualties despite the smokescreen and moderate concealment. |
 |
| (Peter Pig Spanish Civil War Assault Guard and Mexican Government Forces miniatures). |
 |
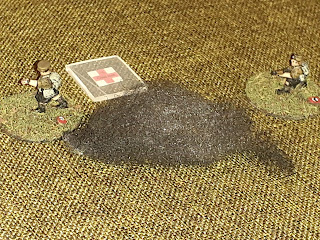
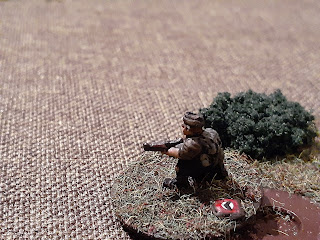
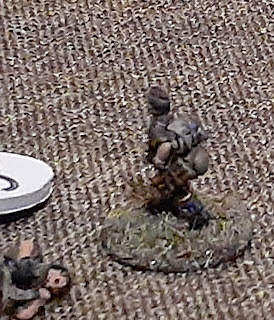
| Dunbar is hit and falls to the ground (that's him, bottom left). He is carried the rest of the way across the open field by his mate, Granville [they broke under a lot of shock]. Both would survive and return however. |
 |
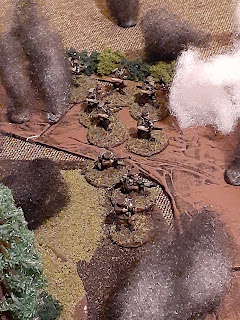
| 2 Section and LT Heath take cover behind a patch of grass (and weird circular mud pits) under effective fire from the enemy. |
1 Section goes back for their corporal
Five men from 1 Section (actually most were substitutes from 15 Platoon) who were still (mostly) unwounded had realised by the time they exited Botany Bay Wood that they were missing CPL Blain! They had to go back for him, so they turned around and ran back into the woods. A medic also met them at the edge of the wood and joined them. They found CPL Blain standing guard alone in the wood and the medic got him hurriedly patched up.
 |
| (Peter Pig 8th Army miniatures). |
The Sheffield Militia continues to advance
While all this was going on, the SWoM blinds continued a relentless advance across the table [I rolled Command Dice for them, and each die could be used either on units already spotted or on moving blinds 2D6"].
A Sheffield light mortar team also appeared on the edge of the grassland and began firing at 2 Section, which continued to take casualties - the wounded keeping down and crawling through every furrow between bits of light cover to escape. At this point, it was clear 2 Section would not be able to cross the rest of the distance safely.
 |
| Sheffield Militia 2" mortar team (Old Glory miniatures from my old British Flames of War army). |
Reinforcements
The AT rifle team eventually swam back across the Bridgewater Canal, took up position in the trees near the canal edge and they began sniping with their Lee Enfield at the Sheffield militia to try to take the pressure off 2 Section.
1 Section from 15 Platoon, together with 14 Platoon's 2IC Lieutenant Eccleston, arrived in Botany Bay Woods near where CPL Blain was marshalling his men. The obnoxious CPL Ferdy O'Cochlain [yes, I rolled on the Platoon Forward personality tables that he is an 'obnoxious' character], rolling his eyes contemptuously at the disorganised 14 Platoon men, ordered his men up to the edge of the wood. CPL O'Cochlain had recently transferred across from the Regular Army, and brought several other long-serving soldiers with him. 15 Platoon's Lewis Gun team (wearing Army Service Dress with white armbands) reached the corner of the woods and began putting down the first effective return fire into the lead SWoM rifle section, killing several and wounding the enemy section leader. The 2 Section Bren gunner managed to break the enemy 2" mortar team also.
 |
| 15 Platoon, 1 Section Lewis Gun team, still wearing Service Dress (Peter Pig WW1 Early War British, with a WW1 Late War British Lewis gunner with headswap). |
 |
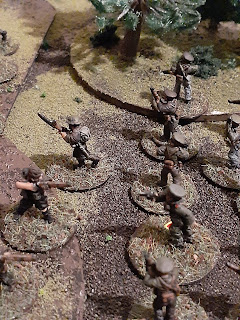
| SWoM rifles taking fire. |
CPL O'Cochlain then ordered his rifle team across a road to a line of trees to scout the SWoM advance: what they saw was worrying: every remaining enemy blind was revealed, including a full SWoM rifle section of 18 men with a Senior Leader, a truck with an enemy mortar observer team, and, dangerously, an off-table Vickers MMG. I used my Chain of Command die I'd accumulated to interrupt the SWoM and jump 15 Platoon's riflemen back into Botany Bay Wood before the Vickers could open fire.
The enemy mortar observer, realising they were too far forward, got back onto the road and reversed rapidly as 15 Platoon's Lewis gun turned to fire on it.
 |
| CPL O'Cochlain orders his men around. |
 |
| SWoM rifle section advances. |
 |
| SWoM Vickers MMG (actually off-table) (Old Glory miniatures.) |
 |
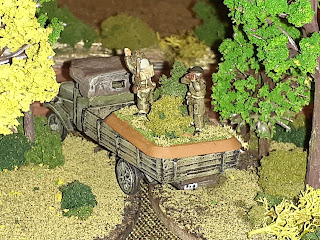
| SWoM mortar observers in the back of a truck making it's way through a treeline (Old Glory miniatures observers and QRF miniatures Thornycroft J truck). |
2 Section in serious trouble
At this point, 2 Section had become Pinned Down and almost completely wiped out, and LT Heath was wounded. Seeing the danger, CPL Blain threw two smoke grenades and his section attempted to run across the road to get to 2 Section.
 |
| 1 Section coming to the rescue of pinned 2 Section. |
 |
| Smoke grenades used. |
However, the enemy had other ideas. Despite having to rapidly retreat after encountering fire, the SWoM observers managed to call down a mortar barrage on the intersection, pinning both 1 Section and 15 Platoon's Lewis gun team. The Blackshorts were lucky with this barrage though and no casualties were sustained.
 |
| Blackshorts at the intersection are pinned by a mortar barrage. |
SWoM bayonet charge into Botany Bay Woods
At just the right moment, while 15 Platoon's Lewis gun Pinned Down and more than 4" away, the 18 militiamen of the SWoM section launched a rapid and spirited bayonet charge straight across the tree-lined road and into O'Cochlain's rifle team.
 |
| Under the command of their platoon leader, the Sheffield Workers' Militia charge the Blackshorts. |
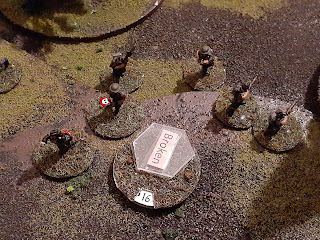
Despite being outnumbered 2:1, 15 Platoon's men gave a reasonable account of themselves, inflicting several casualties and achieving a draw in the first round of close combat. However, having lost several men dead and severely wounded and accumulating a large amount of shock, the odds were now so against them that they automatically lost the second round and fled.
 |
| Overwhelmed, CPL O'Cochlain's rifle team breaks from combat (good thing I made that rotating shock counter go up to 16!) |
CPL O'Cochlain and LT Eccleston managed to rally the 15 Platoon men, before a follow-through charge by the main SWoM rifle unit again drove them back. SWoM were on their objective now: the Blackshorts JOP.
 |
| SWoM continue their charge, driving back 15 Platoon. The SWoM section commander was wounded in the prior combat. |
 |
| .303 versus Webley. |
A charge of desperation
 |
"Better to go out facing the enemy than be shot in the back, I say!"
- LT Heath, presumably. |
All looked lost to the Blackshorts [they were on Force Morale 2]
The only ones left still fighting among the men with 2 Section was Rifleman Hayden Abrams on the Bren gun, LT Heath (who was wounded), and 2 Section CPL Abbey. With no help coming from 1 Section due to the mortar barrage, and as much open ground to cover backwards as forwards, they figured it's better to be facing the enemy when they get shot. So with Abrams providing covering fire, Heath and Abbey bolted toward the enemy.
 |
| A grenade explodes nearby as Heath and Abbey charge the enemy. |
Abbey stopped to fire his Thompson gun once he got in range and managed to kill a couple of enemy. A .303 shot from the AT rifle team far behind them also managed to kill a SWoM militiaman, and this broke the unit!
 |
| Abbey opens fire when in range (Peter Pig 8th Army NCO with headswap). |
Several high rolls on the 'Bad Things Happen' table caused the Sheffield Workers Militia Force Morale to plummet from the combination of leaders wounded and teams and sections broken and routed (thanks to another of my Chain of Command dice). SWoM reached 0 Force Morale, despite the success of their main assault. Though they had reached the northern area of Botany Bay Woods, automatic fire and reports of the rout of their right flank, and the proximity of unbroken enemy units in the woods nearby caused the SWoM platoon commander to pull his forward unit back under the covering fire of their Vickers machine gun. Their hasty advance of opportunity was not to gain them any ground this day.
 |
| The SWoM retreat. |
Conclusion
In the aftermath of the battle, while the Blackshorts held on to their entrenchments in Botany Bay Wood, their numbers were further whittled down, including two seriously wounded who would not return (Scott and Keys), three dead from 15 Platoon (Ellington, Summers and McDaniel), and one seriously wounded and captured during the close assault (O'Donnell). Most of the 2 Section men hit in this fight were slightly wounded and were able to crawl away or were recovered after the battle.
 |
| After action map. |
Learning points
I was happily surprised at what a good game is possible even when playing Chain of Command solo. I think the combination of blinds, interesting scenario objectives and parameters and the challenges of using the Command Dice produced a game that came down to the last few Force Morale points.
This particular battle highlighted the vulnerability of two-man teams to shock when they are left by themselves. It is advisable in CoC to keep them within 4" of a friendly section (both the Blackshorts and SWoM lost their mortar teams in these circumstances).
Additionally, mortar barrages are quit effective in locking down a whole section of the battlefield (and my men were incredibly lucky to escape without casualties).
Finally, even if your Force Morale is really low, that doesn't necessarily mean you should give up: desperate heroics can pay off and enemy Force Morale can be more fragile than it seems.
